Photonics & Metrology
4 Steps for Effective Pump Probe Setup and Calibration
Introduction
Achieving precise measurements in chemical analysis necessitates a thorough understanding of pump probe technology. This guide outlines four critical steps for effective setup and calibration, ensuring that professionals can maximize the performance of their equipment. Calibration may uncover significant discrepancies that challenge measurement accuracy, or the probe may fail to deliver consistent results. Addressing these challenges is crucial for ensuring the reliability of measurement outcomes.
Understand the Components of Your Pump Probe
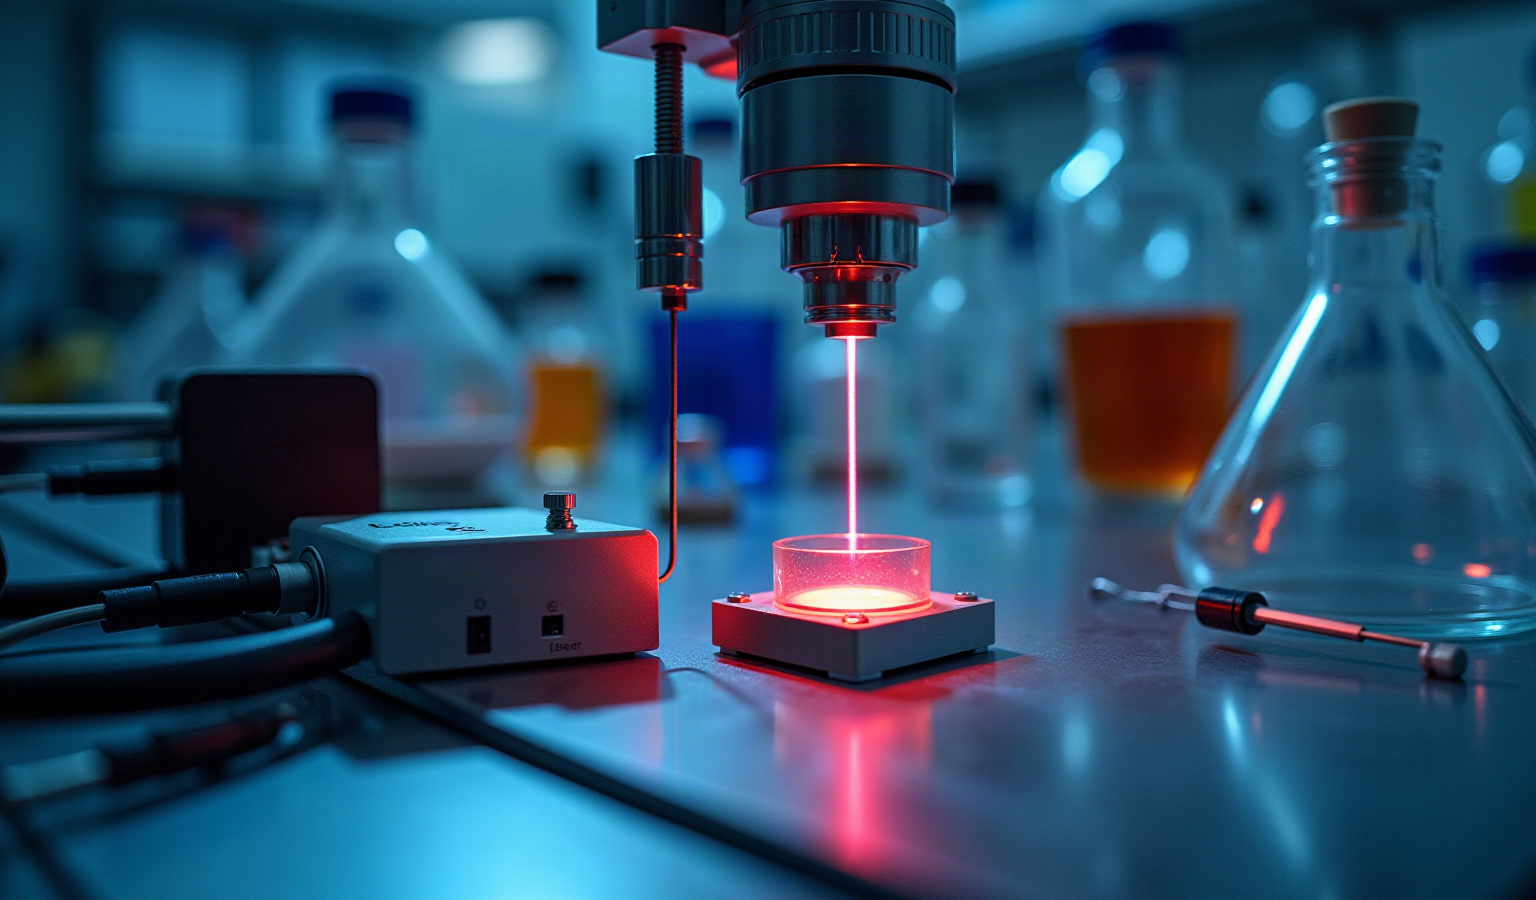
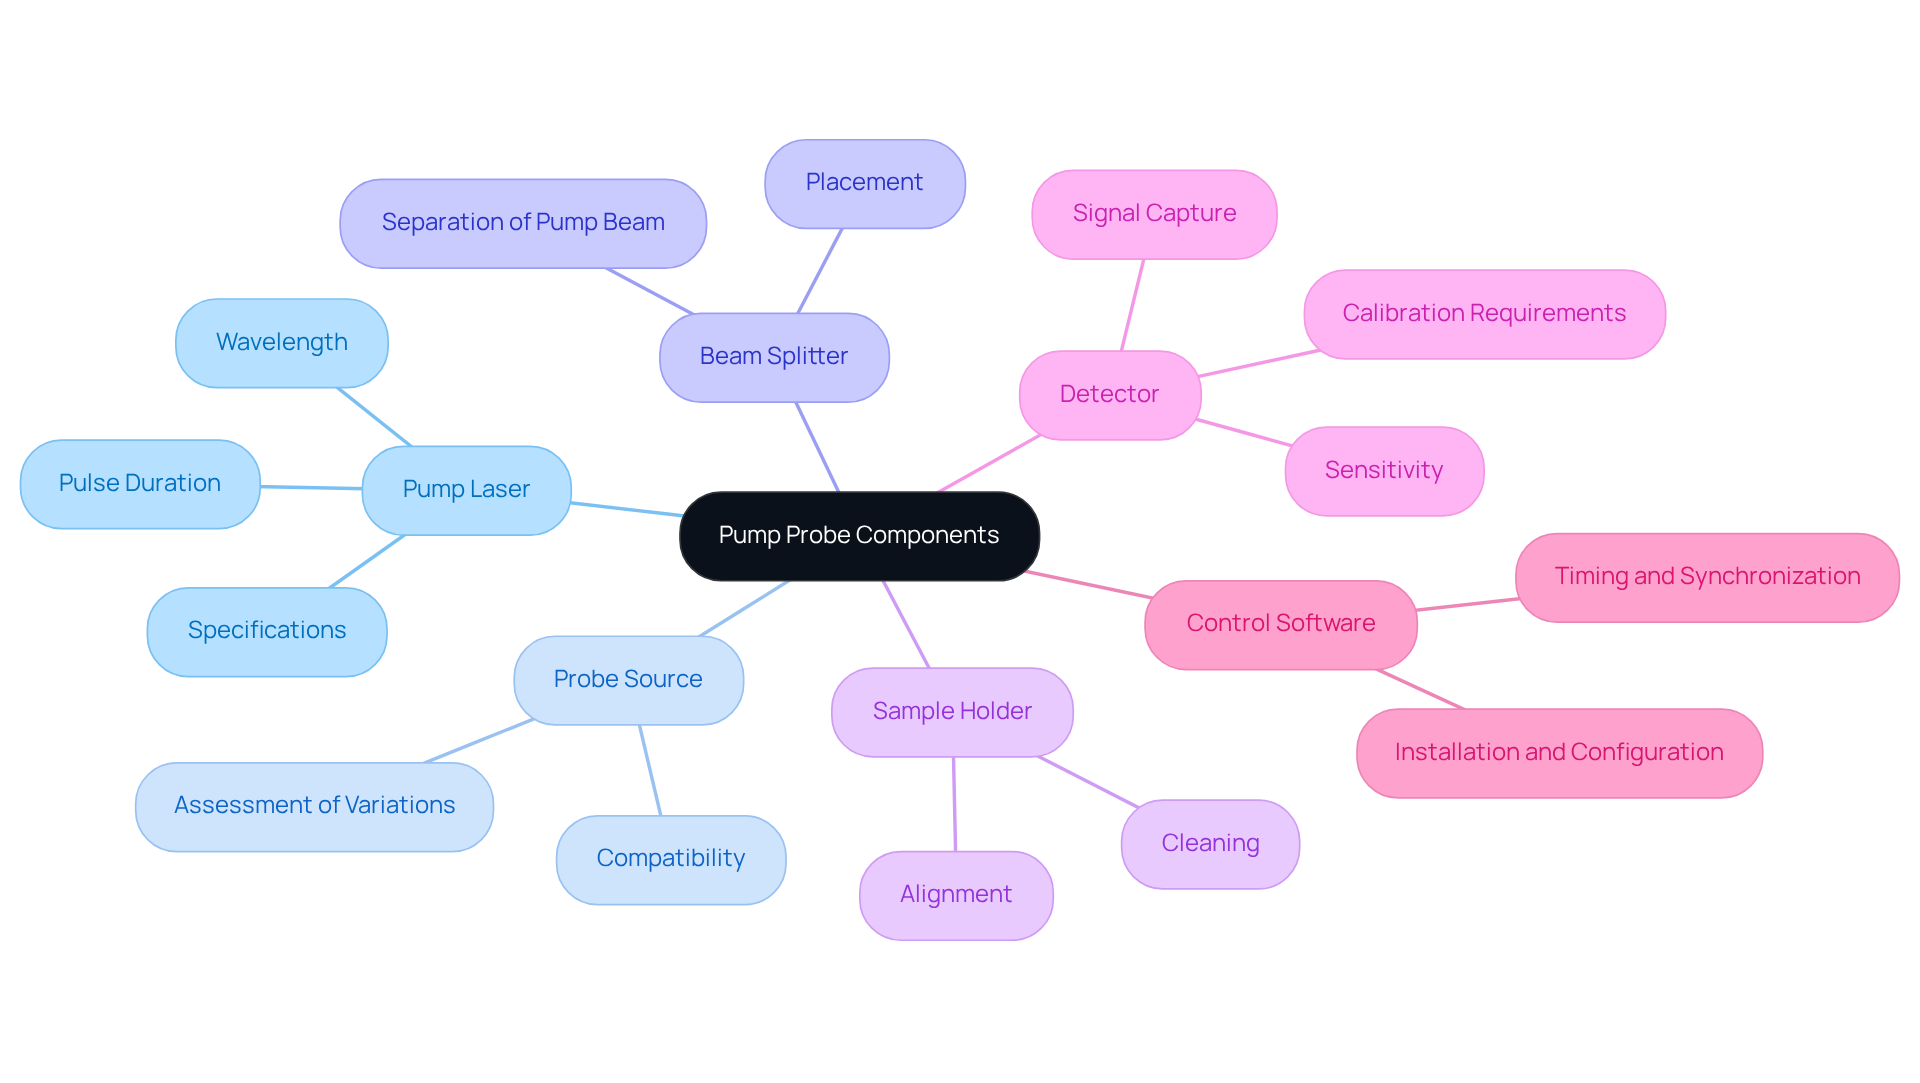
Understanding the key components of your pump probe is crucial for effective setup and calibration:
- Pump Laser: This primary energy source excites the sample. Familiarize yourself with its specifications, including pulse duration and wavelength, to ensure optimal performance.
- Probe Source: Utilized to assess variations in the sample after excitation, this source must be compatible with the excitation source for precise readings.
- Beam Splitter: This optical component separates the pump beam into two paths-one for the pump and one for the measurement. Proper placement is crucial for precise measurements.
- Sample Holder: The sample holder must be meticulously cleaned and aligned with the beams to prevent measurement interference.
- Detector: Capturing the signal after interaction with the sample, this component’s sensitivity and calibration requirements are vital for reliable data.
- Control Software: This software oversees the timing and synchronization of the lasers used for excitation and measurement. Ensure the pump probe setup is properly installed and configured before initiating the setup.
Mastering these components directly correlates with enhanced measurement precision and reliability in chemical analysis. Field testing of the OrionIR across multiple continents has demonstrated its stability and repeatability, underscoring the importance of robust system design in achieving reliable results.
Prepare Your Pump Probe for Operation
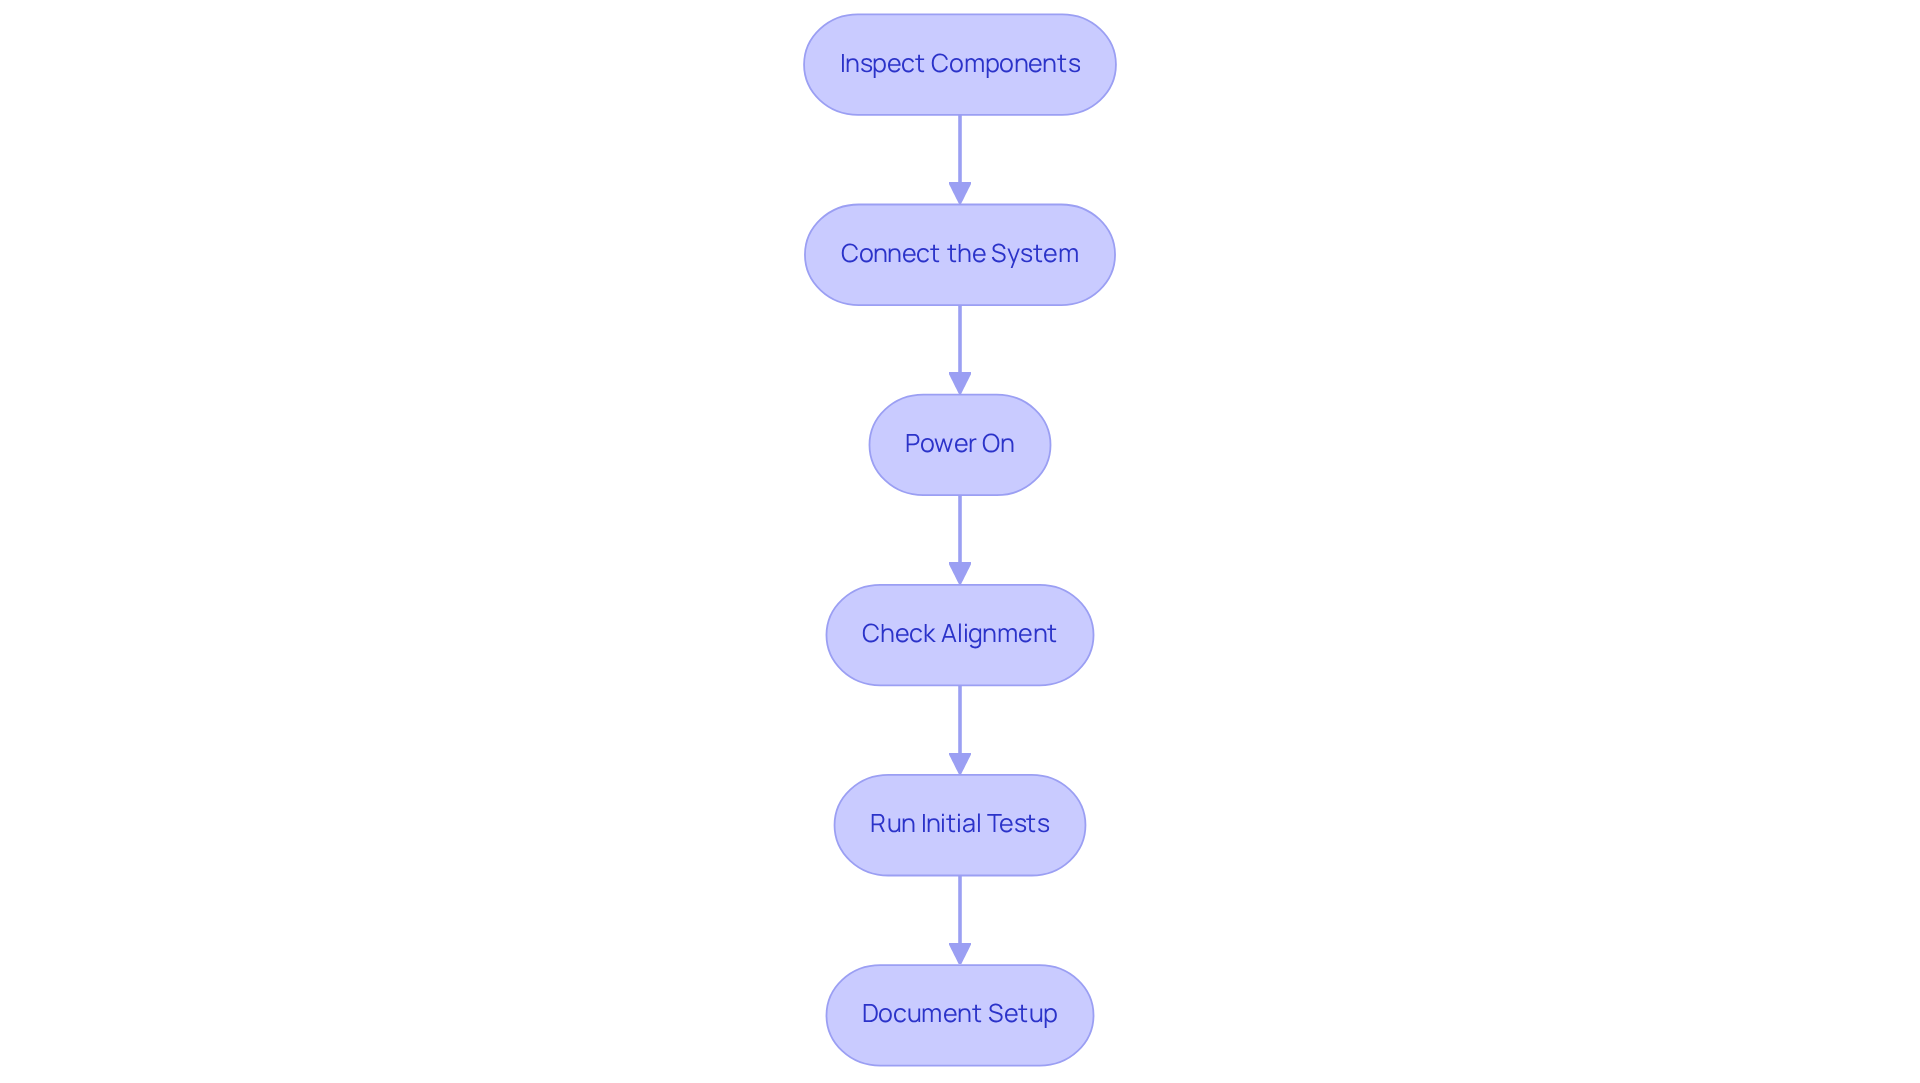
To ensure optimal performance of your pump probe, meticulous preparation is essential:
- Inspect Components: Begin by examining all components for visible damage or wear. Ensure that both the fluid transfer device and the measurement light sources are clean and free from dust to avoid interference with measurements.
- Connect the System: Properly link the fluid delivery system and light sources to the beam splitter, ensuring that the sample holder is securely attached. This step is imperative for ensuring accurate data collection.
- Power On: Activate the device and illumination sources, allowing them to warm up according to the manufacturer’s specifications. This warm-up period is essential for ensuring stable operation and peak performance.
- Check Alignment: Utilize alignment tools to confirm that the pump and probe beams are correctly aligned with the sample holder. Misalignment can lead to inaccurate measurements, making this step critical for reliable data collection.
- Run Initial Tests: Conduct preliminary tests to verify that the system is functioning correctly. This involves verifying the output of the light sources and ensuring that the detector is receiving signals as anticipated.
- Document Setup: Keep a detailed record of the setup configuration, including laser settings and alignment adjustments. Keeping this documentation will help in future operations and troubleshooting.
By following these preparation steps, you will ensure that your pump probe setup is ready for precise adjustment and testing, ultimately improving the reliability of your chemical analysis processes. Additionally, establishing a baseline for optimal performance during the initial setup is crucial, as it allows for effective predictive maintenance strategies.
Traditional grab sampling methods can introduce variability and delay in chemical analysis, making real-time monitoring solutions essential. The OrionIR® Mid-IR Spectrometer from Paeonia Innovations addresses these challenges by providing continuous measurement capabilities, generating one spectrum per second. Field testing of the OrionIR across various regions has demonstrated the importance of such meticulous preparation in achieving stability and repeatability in measurements, thereby enhancing process monitoring and quality control. By adopting advanced technologies like the OrionIR®, organizations can significantly enhance their analytical capabilities and operational efficiency.
Calibrate and Test Your Pump Probe for Accuracy
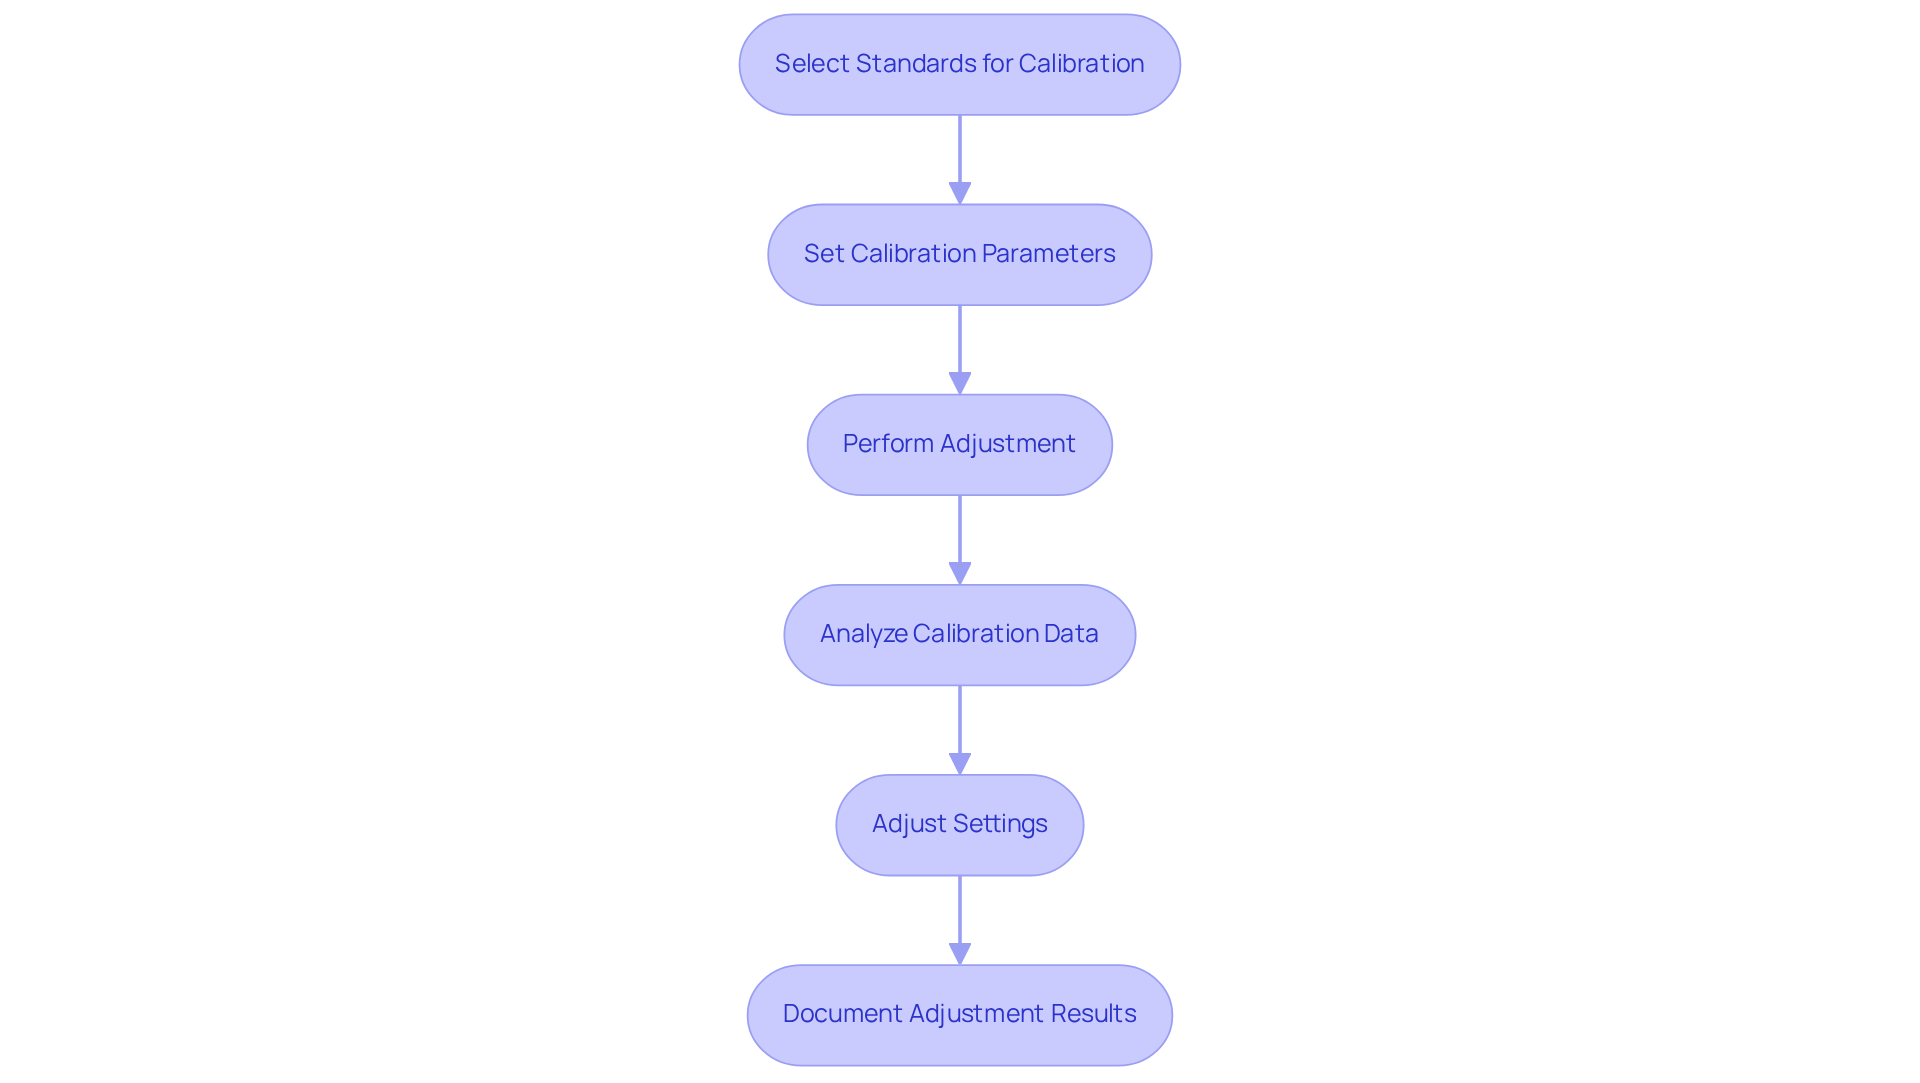
Effective calibration of your pump probe setup is critical for ensuring accurate measurements in chemical analysis. To calibrate your pump probe effectively, follow these steps:
- Select Standards for Calibration: Choose standards that align with the expected range of your samples. This ensures that the adjustment is relevant to your specific application and enhances measurement accuracy.
- Set Calibration Parameters: Input necessary parameters into the control software, including pulse duration, energy levels, and delay times between the pump and probe pulses. Proper parameter settings in the pump probe setup are essential for achieving optimal performance.
- Perform Adjustment: Execute the adjustment routine according to the manufacturer’s instructions. This process involves executing a series of tests with the adjustment standards to establish baseline measurements, ensuring compliance with ISO 9001 and ISO 17025 standards for accuracy and traceability.
- Analyze Calibration Data: Review the information gathered during the setup process to verify that the pump probe is responding accurately. Inconsistent results across trials may signal underlying issues that require immediate attention. Regular adjustments, ideally conducted annually as recommended by OMICRON, are crucial for preventing measurement errors that could compromise operational efficiency and safety.
- Adjust Settings: If discrepancies are found, modify the laser settings or alignment as necessary and repeat the adjustment process until satisfactory results are achieved. Utilizing case studies can illustrate the practical effectiveness of various adjustment techniques.
- Document Adjustment Results: Record the adjustment outcomes and any modifications made for future reference. This documentation is essential for maintaining the integrity of your experimental data and ensuring compliance with regulatory standards. Incorporating expert quotes, such as those from the CEO of Paeonia Innovations, can further highlight the significance of precision and accuracy in measurement processes.
By adhering to these calibration steps, you will ensure that your pump probe setup delivers precise and dependable readings. Ultimately, meticulous calibration practices are essential for maintaining the reliability of your analytical results.
Troubleshoot Common Pump Probe Issues
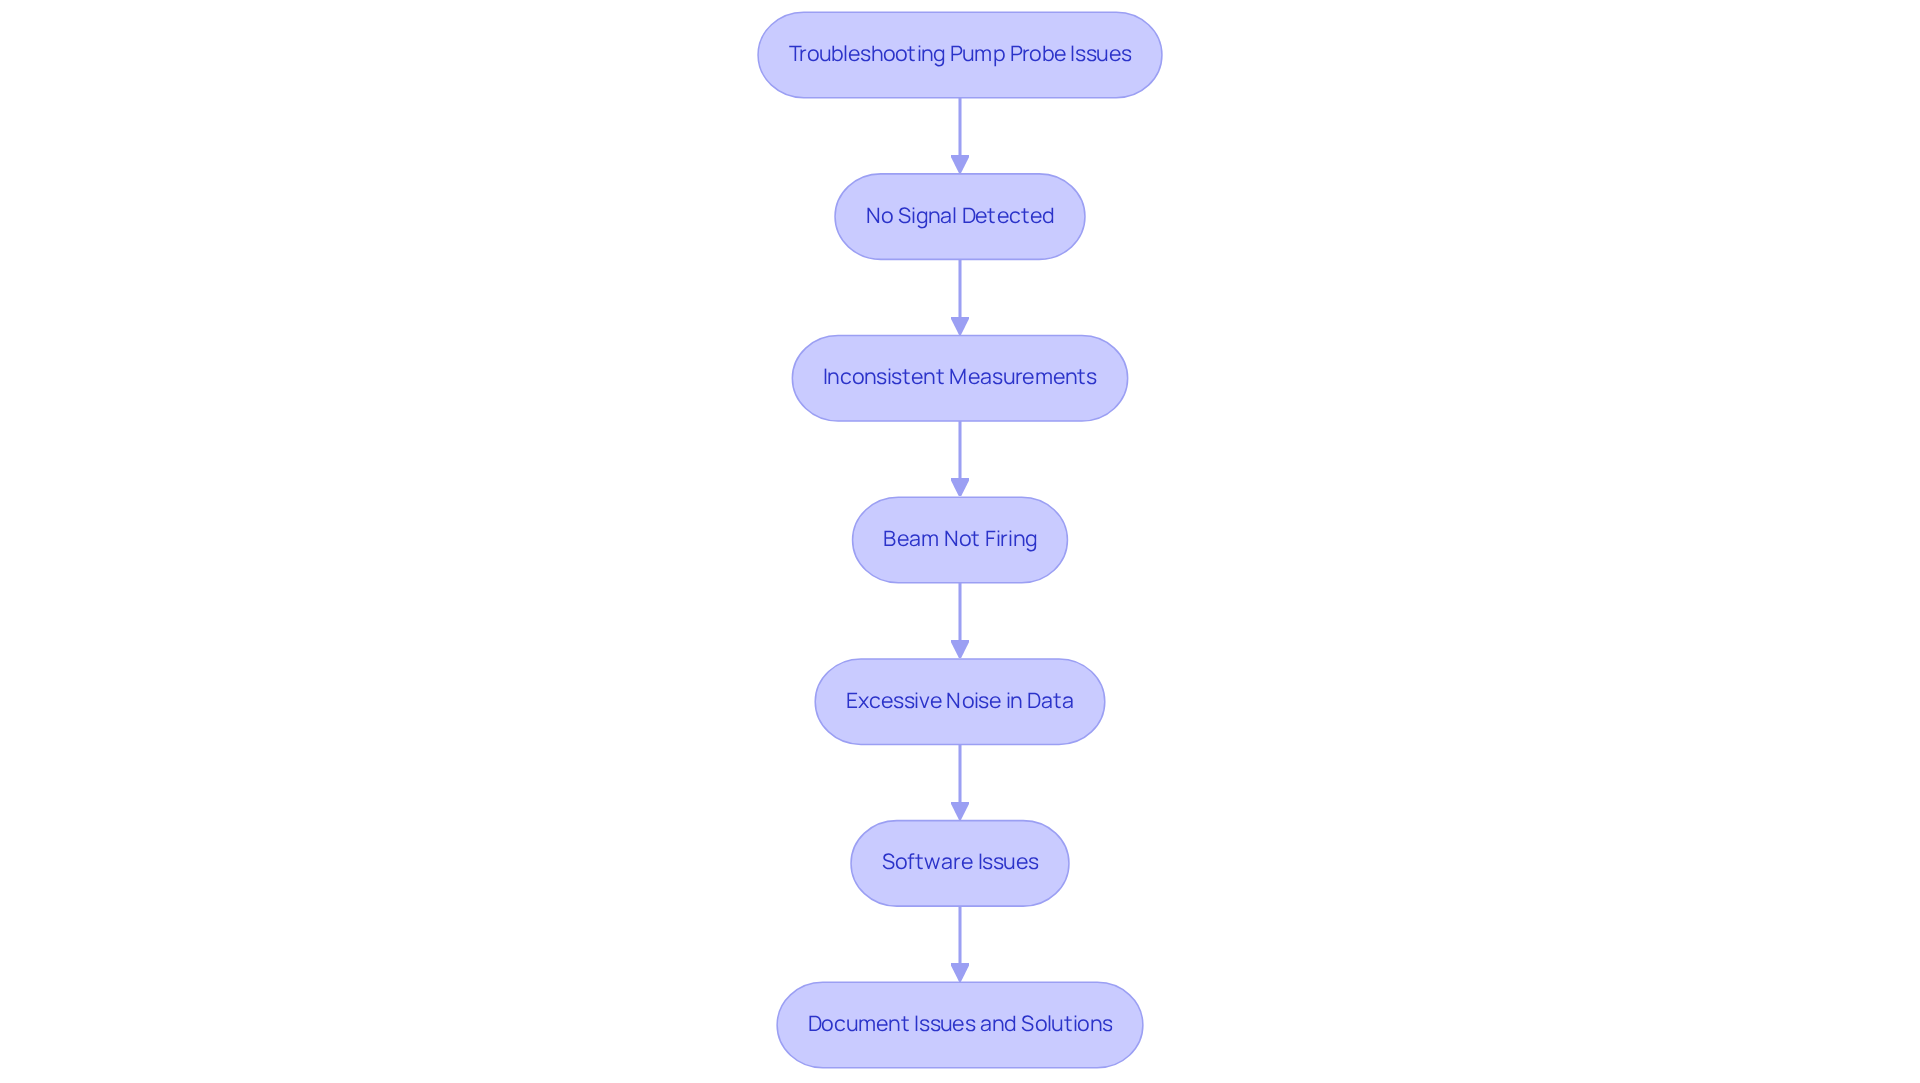
When encountering issues with your pump probe, a systematic approach to troubleshooting is essential:
- No Signal Detected: Check the alignment of the pump and sensing beams. Misalignment can prevent the probe from detecting the signal. Ensure that all connections are secure.
- Inconsistent Measurements: Verify that the adjustment is correctly set and that the standards used are appropriate. Recalibrate if necessary. Inconsistent measurements often stem from improper calibration, which is crucial for accurate data capture.
- Beam Not Firing: Ensure that the power supply to the beams is functioning and that they are properly warmed up. Check for any error messages on the control software. A common issue is the failure of the laser to fire, which can disrupt the entire measurement process.
- Excessive Noise in Data: Investigate the detector settings and ensure that the signal-to-noise ratio is optimized. Adjust the gain settings on the detector if needed. Excessive noise complicates the data acquisition process, leading to unreliable results.
- Software Issues: If the control software is unresponsive, restart the software and check for updates. Ensure that the software is compatible with your operating system. Software malfunctions can obstruct the functioning of the system.
- Document Issues and Solutions: Keep a log of any issues encountered and the solutions applied. This documentation can be invaluable for future troubleshooting and for sharing knowledge with colleagues. Regular documentation helps in identifying recurring problems and streamlining the troubleshooting process.
By following these troubleshooting steps, you can effectively address common issues that may arise during the operation of your pump probe setup. Research indicates that proper alignment and calibration techniques can enhance signal detection and improve overall system reliability.
Conclusion
Achieving accurate and reliable measurements in chemical analysis hinges on mastering the setup and calibration of a pump probe. Understanding the components, preparing the system carefully, calibrating properly, and troubleshooting common issues significantly enhance analytical capabilities. This structured approach ensures optimal performance and builds confidence in the results.
Key insights from this guide emphasize the importance of each step in the process. From familiarizing oneself with the pump probe components to conducting thorough calibration and documentation, every action contributes to the overall reliability of the measurements. Advanced technologies, such as the OrionIR® from Paeonia Innovations, can streamline operations by providing real-time data and enhancing quality control across various sectors.
Ultimately, adopting these best practices is crucial for researchers, quality control professionals, and scientists aiming to improve their analytical processes. By prioritizing meticulous setup and calibration, organizations can not only ensure compliance with regulatory standards but also drive innovation and efficiency in their operations. Implementing these strategies not only enhances compliance but also positions organizations at the forefront of scientific innovation.
Frequently Asked Questions
What are the key components of a pump probe?
The key components of a pump probe include the Pump Laser, Probe Source, Beam Splitter, Sample Holder, Detector, and Control Software.
What is the function of the Pump Laser in a pump probe?
The Pump Laser serves as the primary energy source that excites the sample. It is important to understand its specifications, such as pulse duration and wavelength, for optimal performance.
How does the Probe Source contribute to the pump probe setup?
The Probe Source is used to assess variations in the sample after excitation. It must be compatible with the excitation source to ensure precise readings.
What role does the Beam Splitter play in the pump probe system?
The Beam Splitter is an optical component that separates the pump beam into two paths-one for the pump and one for measurement. Proper placement of the Beam Splitter is crucial for accurate measurements.
Why is the Sample Holder important in a pump probe setup?
The Sample Holder must be meticulously cleaned and aligned with the beams to prevent measurement interference, ensuring reliable data collection.
What is the purpose of the Detector in a pump probe?
The Detector captures the signal after it interacts with the sample. Its sensitivity and calibration requirements are vital for obtaining reliable data.
How does Control Software function in the pump probe system?
Control Software oversees the timing and synchronization of the lasers used for excitation and measurement. It is essential to ensure that the pump probe setup is properly installed and configured before starting the process.
What is the significance of mastering the components of a pump probe?
Mastering these components directly correlates with enhanced measurement precision and reliability in chemical analysis.
What has field testing of the OrionIR demonstrated regarding its performance?
Field testing of the OrionIR across multiple continents has demonstrated its stability and repeatability, highlighting the importance of robust system design in achieving reliable results.